Showing posts with label recipe. Show all posts

Wednesday, November 10, 2010

My Fast Food Breakfast

I love breakfast.

I mean, I really love breakfast.

And these days I have been craving a bacon egg and cheese biscuit from Burger King just about every morning. Besides the fact that it is a complete waste to buy breakfast every day, I am not ok with feeding myself and my baby that much fast food JUNK every day. Once a week? Fine. I wont lose any sleep over that. But every single day? No, I will seriously start feeling guilty.

To make a short story long, my favorite local coffee shop (Elements Coffee Company, to be exact) started selling breakfast. They posted a picture of their breakfast sandwich and I drooled all over my keyboard. I would NOT feel guilty about eating their breakfast because it is made fresh every morning. And lets face it, anything made fresh every morning is bound to be healthier than Burger King or McDonald's. But I still had the pesky problem of my husband not letting me go out and buy breakfast every morning!

So I decided to try to make my own. Which turns out is way easier than I could ever imagine. Its actually way to easy to justify being a for real recipe post, but I am bored and needing something to blog, so I am going to post it anyway!


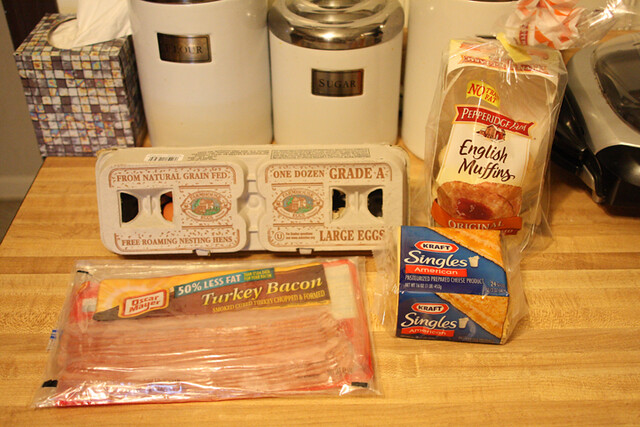
Here's what you will need...
<span class=
An English muffin, two slices of bacon, one egg and a slice of cheese.

Simple, simple ingredients.


<span class=
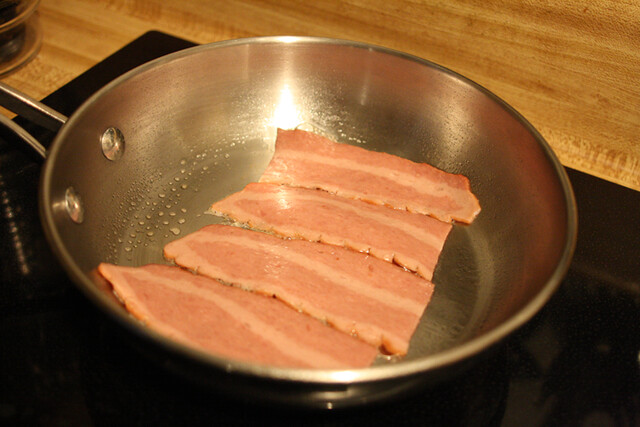
Ok, so first fry up some bacon. And yes, I use turkey bacon. Its not quite as bad for you as regular bacon and it doesn't taste too shabby either! :)


<span class=
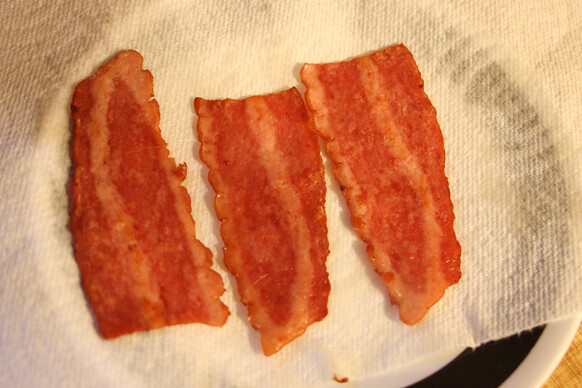
Once the bacon is crisped to perfection, lay it on a paper towel so the grease can drain while you make the other stuff.

And just as a side note, you can microwave the bacon if you want to make this even easier. I do that when I am even more lazy than usual. But really, its just not as crispy and delish that way, so I generally try to use the frying pan.


<span class=
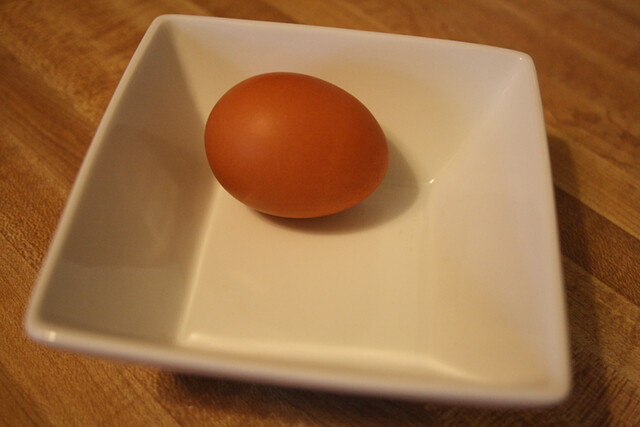
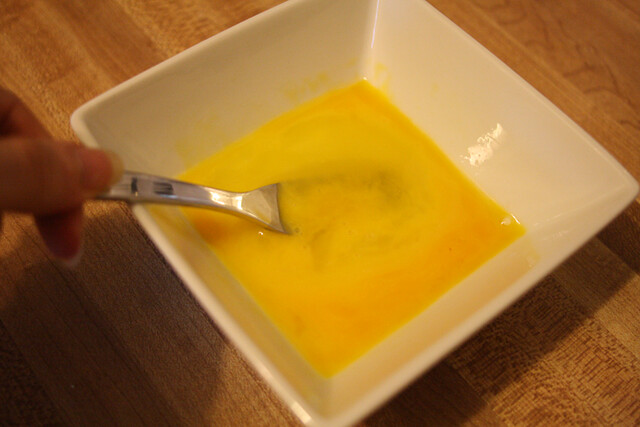
Ok, now here is where you may laugh at me. I sometimes scramble and egg and then put it on the muffin, but I really like the whole fast food egg look. You know, the circle or square that the "egg" is shaped in? Well, I happen to have these cute little bowls and they are the PERFECT size!


<span class=
So here is what I do. I take one egg and beat it with a fork into that square bowl. Then I microwave it (yes, I said microwave). I nuke it for 20 seconds at first, then stir. Then I nuke it for somewhere between 30 and 40 more seconds until it is done!


<span class=
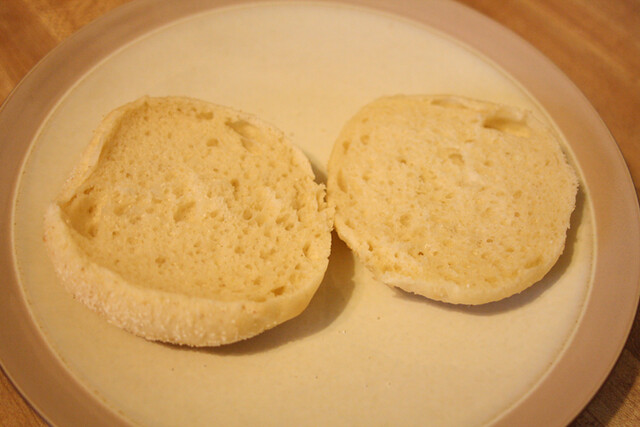
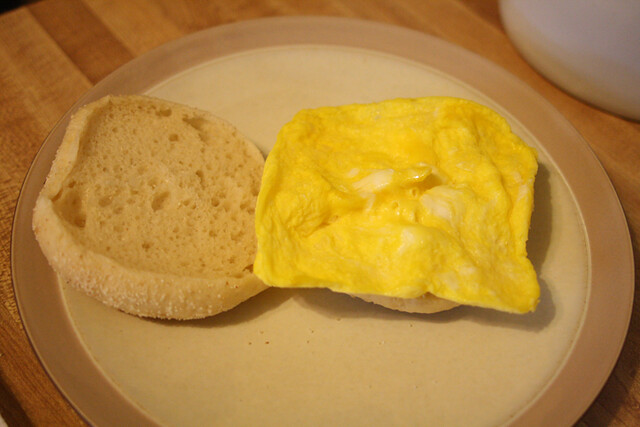
And when its done, it looks like this!


<span class=
Now take your English muffin (toasted or non. I generally don't toast mine because I don't feel like bringing out the toaster, but its your call.) and split it in half.


<span class=
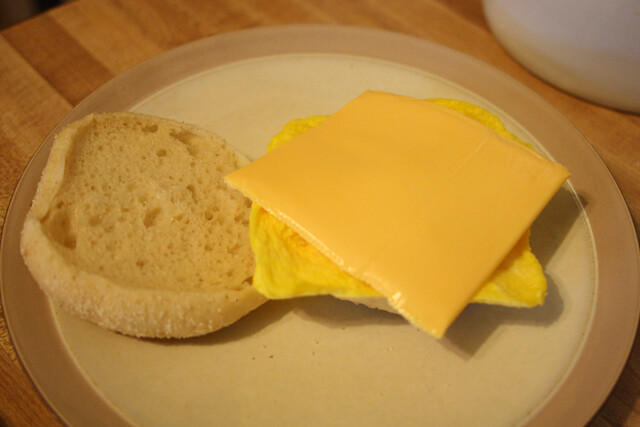
Slap on the egg,


<span class=
slice of cheese,


<span class=
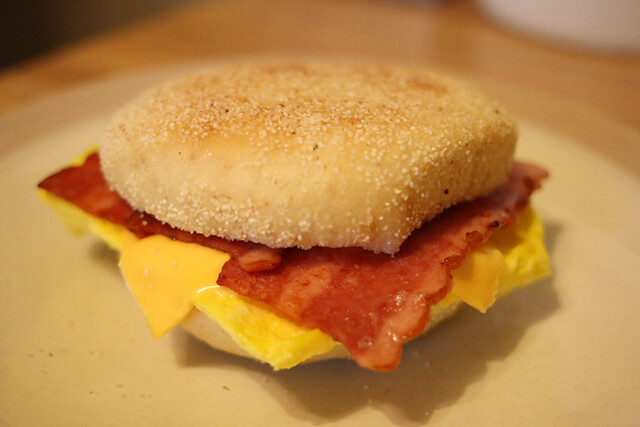
and a few slices of bacon.


<span class=
Close it up and wala! You have yourself a yummy bacon, egg and cheese sandwich!


So there you have it. You could have probably figured that out all on your own, but I appreciate you humoring me. :)

Friday, October 15, 2010

Chicken Roll Ups

I am not gonna lie. This week has been crazy-go-nuts busy around here. For the normal super mom our week may seem like a piece of cake, but for a pregnant lazy mom who usually doesn't get our of her pajamas until 10 and gets back in them at 2, this has been a crazy week. Don't get me wrong, its been a good week... but definitely a busy one!

We have started potty training (which is going remarkably well this time), started our first week of homeschooling (using this term loosely. I will talk about this more in a future post), Z has officially given up his nap (which makes for more errand running, believe it or not) and we ventured out to take part two of Z's three year old pictures. Not to mention our usual errands and library runs and play dates. I am running around so much during the day, that by the time I get to sit down this little baby inside of me starts kicking up a storm! I swear he starts running a marathon as soon as my butt hits the couch. There was a time I thought he was seriously going to jump right out of my stomach!


Anyway. Enough about babies jumping. Lets talk about food!

Since it has been about 23 million years since my last recipe post I decided now would be a good time to throw one at ya.

Back when I was super pregnant with Zachariah, our friends Matt and Jamie had us over for dinner. Jamie made chicken roll ups and they were a huge hit with me and Daniel. Turns out Daniel had these when he was growing up, but I think that was a first for me! The chicken roll ups require a total of four ingredients and it is a pretty tasty meal! Anyway, all that to say, I added this meal to our menu a couple years ago and I thought I would share it with you! :)


Here is what you will need:


<span class=
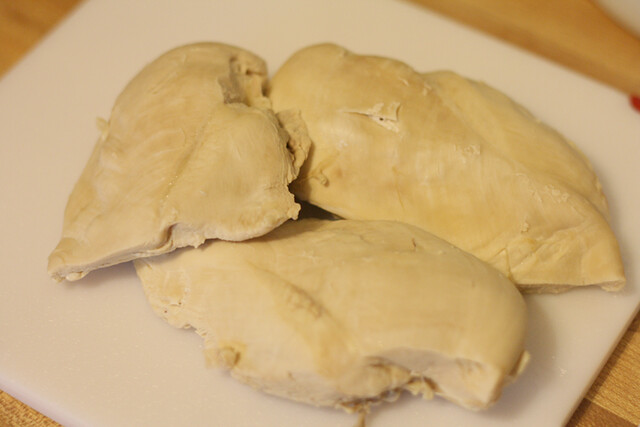
Two to three chicken breasts (These are cooked. I kinda forgot to take a picture before I cooked them. My bad.)


<span class=
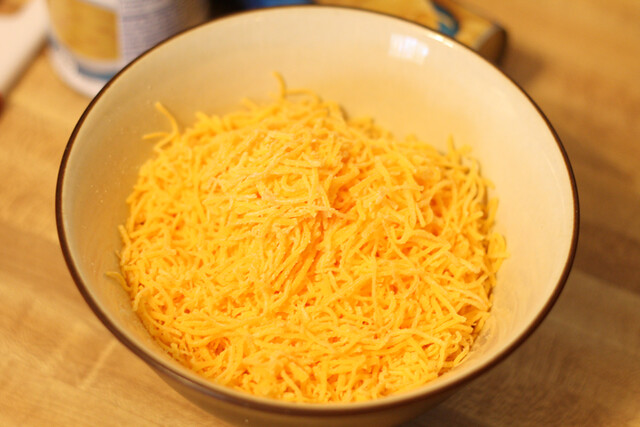
A heaping amount of shredded cheese (About two to three cups. Depending on how much cheese you like. I am kinda a cheese-a-holic, so I tend to use a lot!)


<span class=
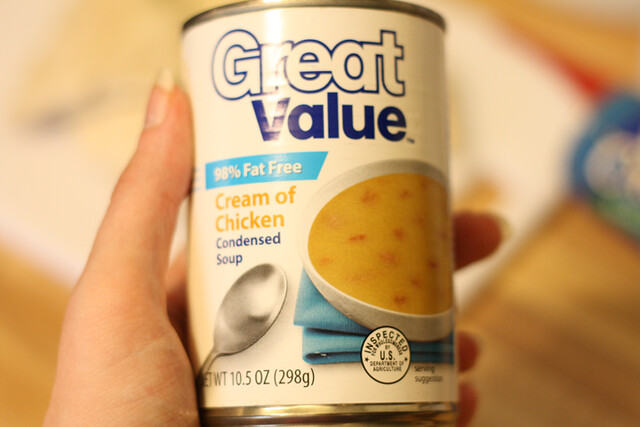
One can of cream of chicken soup


<span class=
And a can of crescent rolls.


<span class=
Put the chicken in a pot and cover completely with water and boil for 30 minutes. (If they are frozen boil for an hour.) After the chicken is no longer in its raw state, shred it. There is no fancy way of shredding chicken. I wait for it to cool down a bit and then just tear into it with my hands. Its quicker that way.


<span class=
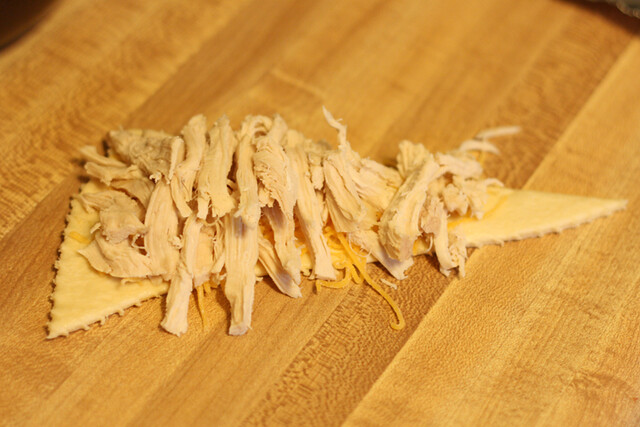
Now pop open that can of crescent rolls and break one off. Put a little shredded cheese on it, then pile on some chicken.


<span class=
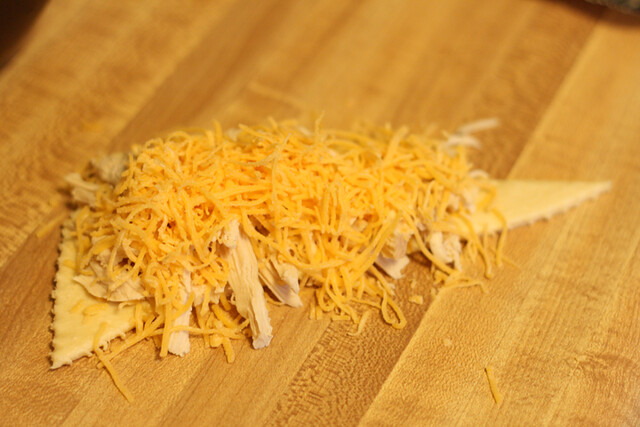
Then add some more cheese!

Oh how I love cheese.


<span class=
Starting at the wide end of the crescent roll, roll it up!

Now, keep in mind you do NOT have to stuff your roll this full. Daniel dropped several hints that I did not stuff them full enough for his liking a while back, so I over-stuff them now. I started out just wanting to be a butt and see how full I could get them, therefore showing him that I NEEDED to stuff them lightly. But that backfired, because I actually enjoyed the over-stuffed version. Ha! All that to say, you may go a little lighter on the chicken and the cheese if you would like.


<span class=
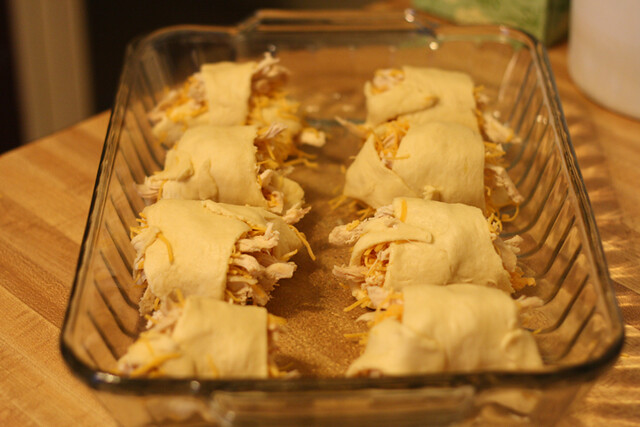
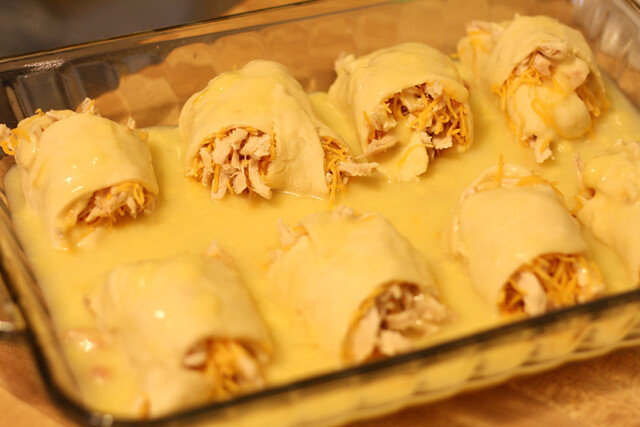
Repeat with each crescent roll, and then line them up in a 9x13 baking dish.

FYI: I sprayed the dish with cooking spray first. Not sure if it is always necessary, but I ALWAYS spray things with cooking spray. Unless of course the recipe calls for buttering the dish, then I butter it. But I am very hesitant about putting things in the oven without spraying it down first. Call me crazy, but I just don't like caked on residue.


<span class=
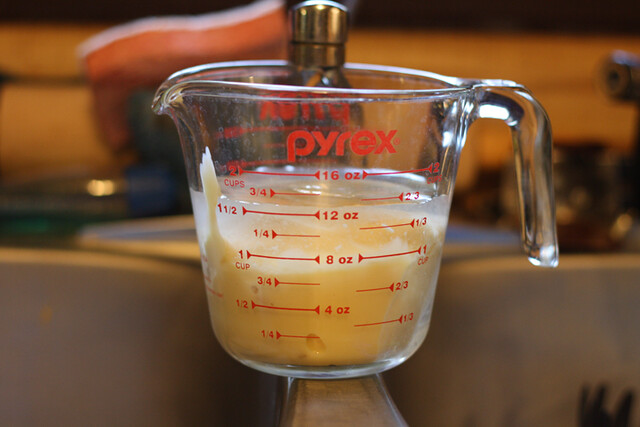
Now this is where your cream of chicken comes in. I dump the can into a measuring cup and then fill it with half a cup of water. Sometimes I use 3/4 cup of water. It all depends on my mood. Once you decide how much water to use, mix the cream of chicken and water together with a fork.

I feel like I should tell you that the recipe I got from Jamie says to heat the cream of chicken soup and the water on the stove in order to get it all mixed together. And I'm not gonna lie... if I did that it would probably mix together a bit better. But I am lazy and I didn't feel like using a pot. So I took the easy way out. It obviously turns out just fine the way I do it, but please feel free to follow the rules and heat it on the stove. I just happen to be a lazy rebel. :)


<span class=
Now take the cream of chicken soup and water mixture and pour it all over the chicken roll ups. As you drizzle it over the tops it will fill in between each roll up and all down the center.

Obviously, the more water you add to the soup, the more mixture you will have. If you want more mixture in the bottom of your pan, increase the amount of water. And vise versa.


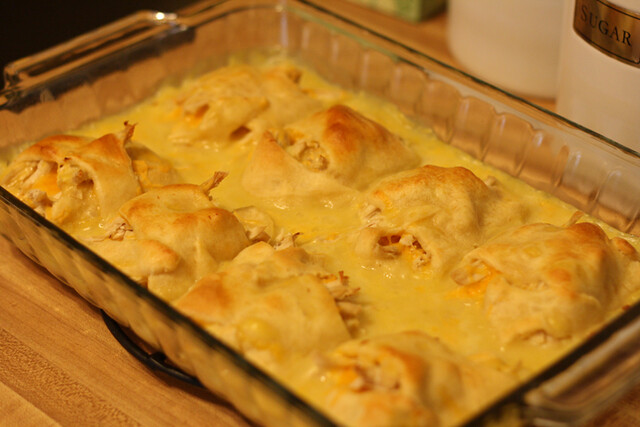
Now, plop it into your oven (that was preheated to 375 degrees) for 20-25 minutes, or until the crescent rolls are nice and golden.


<span class=
Here is what they look like! As you can see, I could have left it in for another few minutes to make sure ALL the rolls got that nice golden look, but I was hungry. And my boys were hungry. So I opted to take the lazy way out and go ahead and take it out.

Don't be like me.


<span class=
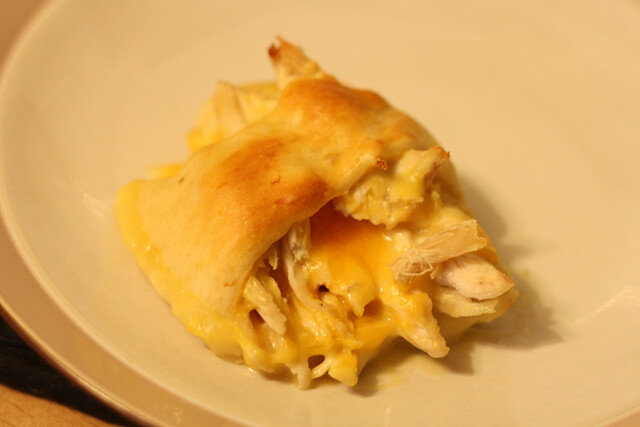
Serve one (or two) of these suckers with some rice, potatoes, or as we did the other night, noodles! They go with a ton of stuff!

There you have it. Chicken roll ups! Nothing fancy, but an easy/yummy meal to serve that will please even the pickiest of eaters! My three year old DEVOURS this meal, so I give it two thumbs up. :)

Here is the recipe without all of the pictures and ramblings.


Chicken Roll Ups
Ingredients:

2-3 chicken breasts

1 tube of crescent rolls

1 can cream of chicken soup

Shredded cheddar cheese


Directions:

Boil chicken breasts for half an hour (if frozen for an hour). Shred chicken

Preheat oven to 375

Roll up shredded cheddar cheese and chicken into each crescent roll and place in a 9x13 baking dish.

Mix 1/2 cup of water with cream of chicken soup and pour over the roll ups

Cook for 20-25 minutes or until golden brown.


Happy Friday!!!

Wednesday, May 26, 2010

Chichen-itza Pizza!

Sorry. That is the name of one of The Backyardigans episodes that Zachariah has been watching here recently. Its kinda stuck in my head.

Ok, so we are a pizza loving family. We have pizza and movie night once a week and it is something that all of us have started looking forward to (Zachariah especially)! But we quickly found that frozen pizza's are just so dang expensive for such a small amount. And we aren't about to order pizza every week, because those are even MORE expensive. So we decided to make our own.

I call it our "almost homemade pizza". I think it is the closest thing to homemade pizza you will have without making your own dough. And I am going to do that sometime soon, but right now this does just fine.


pizza05
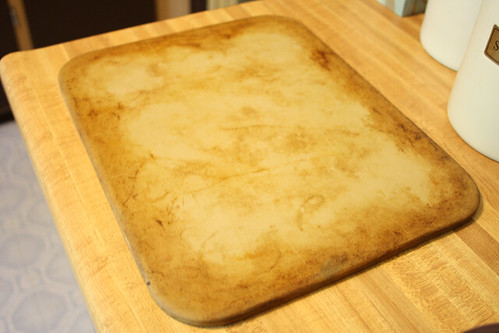
You need a baking sheet. I use stoneware because it is pretty much the best thing ever. Everything cooks so perfectly. I have never ever had anything burn! I have a stoneware pizza stone, muffin pan, bar pan and a baking sheet. Ah-mazing.


pizza04
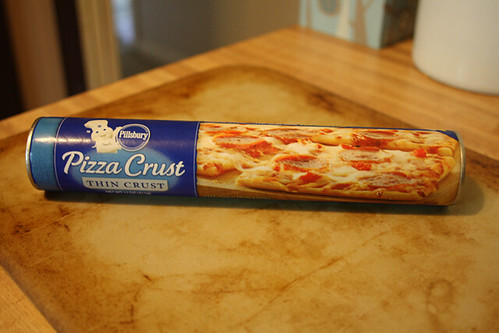
Next comes the almost homemade dough. Pillsbury's pizza crust in a tube. I mean, it doesn't get any easier than this folks.


pizza03
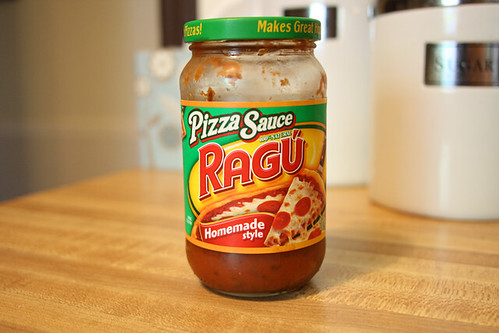
Then you will need pizza sauce (about 3/4 cup),


pizza01
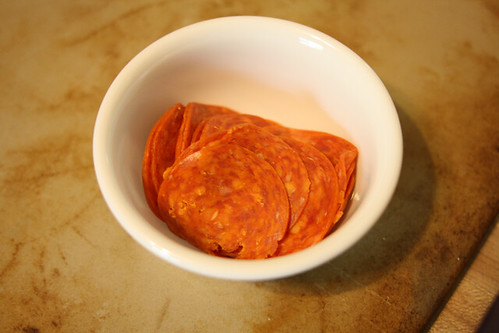
A handful of pepperoni's (or your topping of choice)


pizza02
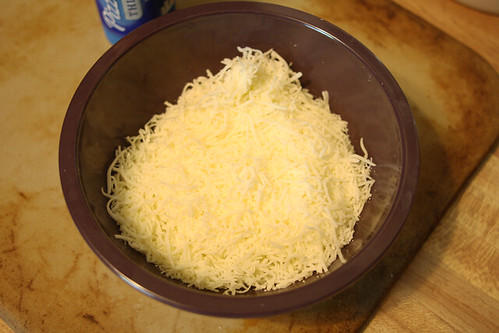
And a cup or two of shredded cheese.


From here on out you pretty much follow the directions on the Pillsbury can, so technically I could just stop the post now. But I am desperately needing to procrastinate some housework, so I think I will keep going, even though we have now reached the common sense stuff. :)


pizza06
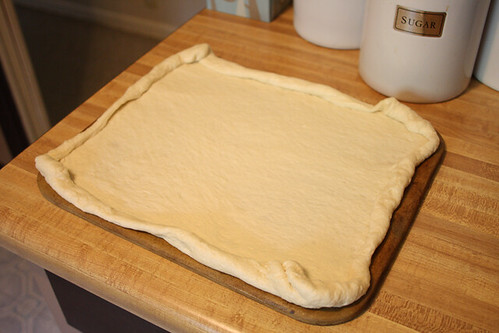
Roll out the dough onto the cookie sheet.


pizza07
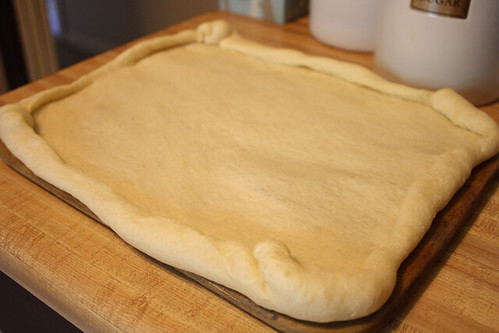
I like to roll the edges up a bit to create a crust around the whole pizza. I think I would be lost if I had to hold a piece of pizza without the outside crust.


pizza08
Pop it in a preheated oven for five minutes. (The oven temperature will depend on the type of crust you have.) When you take it out it will be nice and puffy. Not browned at all, just puffy.


pizza09
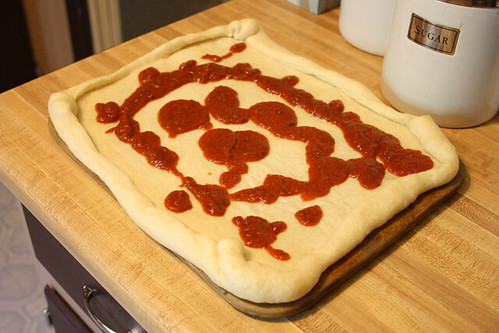
Now pour 1/2 a cup or so of sauce onto the warm pizza crust.


pizza10
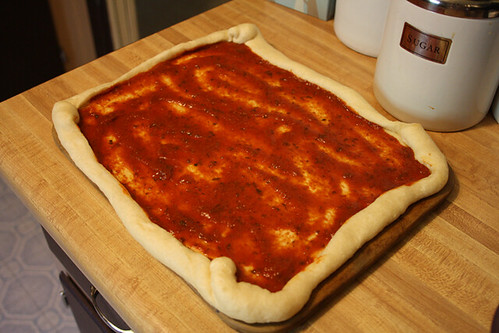
Spread it around and add more if necessary. I think I ended up using close to 3/4 cup of sauce, but that definitely depends on your preference.


pizza11
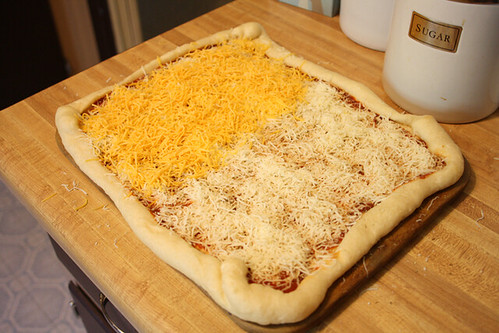
Sprinkle some mozzarella cheese over the top of the sauce. We are a divided family. Z and I like mozzarella AND cheddar cheese on our pizza, but Daniel prefers straight up mozzarella. So we do both!


pizza12
Now throw some pepperoni's on top of the cheese and you are set!


pizza13
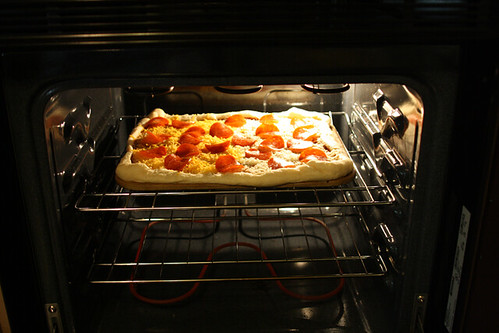
Pop it in the oven for 10-12 minutes


pizza14
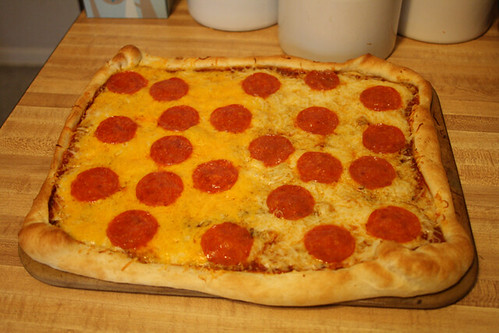
And pull it out when the crust is a nice golden brown and the cheese is completely melted.


pizza15
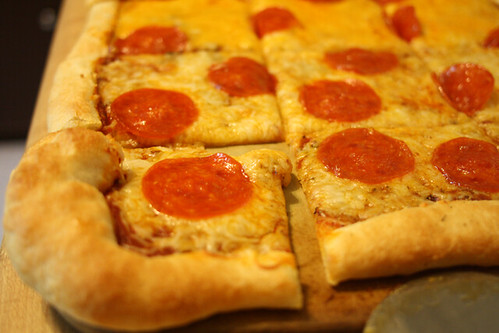
Does this not look delish? Tastier pizza with less preservatives and for half the cost of a frozen pizza?

Yes, please. :)


Thursday, May 13, 2010

Candi Sushi

Last weekend we had a going away party for my brother who is in the Air Force. Since he is headed to Japan (Literally. As I type this he is on a plane headed over there) the party was Japanese themed and I had volunteered to bring candy sushi. I saw a recipe a year or so ago and bookmarked it because I thought it looked fun.

I was wrong.

I had originally planned to do a recipe post showing everyone how to make these cute little things, but they turned out to be the biggest pain in my butt. Since I was already throwing food against the wall, yelling and crying I decided not to add to my stress by taking pictures of the whole thing.

But IF you want to know how to make them, I will give you the recipe. Just take some Prozac first. It may help.


Its a rather simple recipe. You need 1 cup of Rice Krispies cereal, 4 fruit roll ups (preferably green, but any flavor will do), 4 red twizzlers, 8 large marshmallows and 2 tablespoons of butter.


Here's what ya do.

In a small saucepan, melt marshmallows with the butter over low heat. Add the rice cereal and stir to coat; let cool slightly. (And by slightly, it means slightly. Like, 2-3 min.)

Cut licorice to the length of the fruit roll-up. Unroll the fruit roll-up and peel off the plastic film.

Note: This is where I started cursing the world. I live in South Georgia. Its blasted hot and humid down here. So the fruit roll ups did not peel off the plastic film as much as they tore into 5 thousand little sticky shreds. So a word to the wise: Put the fruit roll ups in the fridge for 5-10 minutes prior to unrolling. It works SO much better that way!


Place about 1/4 of the rice cereal mixture on the edge of each roll-up. (Just eye ball it. Basically you need to make sure there is enough to cover 1/2 of the fruit roll up.)

Place (and push) the twizzler in the center of the rice mixture and roll up the candy sushi. Dip a knife in water to keep it from sticking and cut into 2-inch pieces.


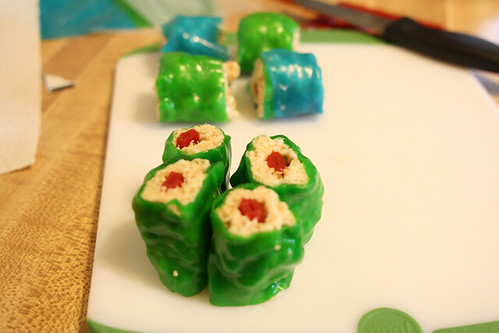
Here is a visual. I wanted all of the fruit roll ups to be green, but NO ONE IN THIS GOSH AWFUL TOWN SOLD GREEN FRUIT ROLL UPS. *ahem* So I had to use a combination of Shrek tongue tattoo mini fruit roll ups and a multi colored pack. Which worked out fine in the long run, but during the whole process I was quite sure the world was ending.


Ok, so I may have some issues that need to be worked out. This candy sushi thing really messed with my psyche.


Here are all of the completed candy sushi. In order to make this many you need to quadruple the recipe or something.


And much to my surprise, the candy sushi really did taste pretty good. I mean, I expected it to be WAY to chewy, but it wasn't too bad! In fact, I would almost say that it was worth the 3 hours I spent in the kitchen.

Almost.

:)
Thursday, April 22, 2010

Breakfast Muffin... Or Something.

Over here in the Titus household we LOVE breakfast foods, and when I found this recipe for a ham and cheese egg cup I knew I had to make brinner. Immediately.

So that is what I did. Last night we had breakfast, and it was wonderful. And because I am a nice person, I will share this treasure that I found (thanks again to Tasty Kitchen!).

Here is what you will need.


breakfastcups01
One dozen eggs,


<span class=
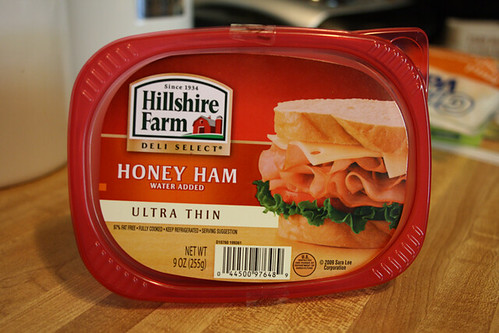
Twelve pieces of deli sliced ham,


<span class=
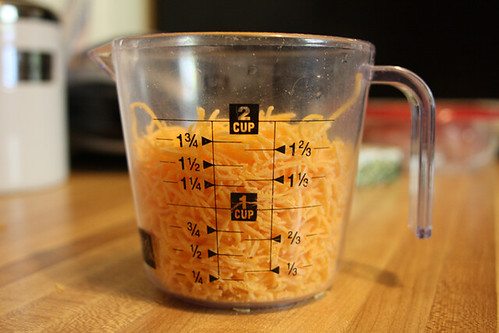
And two cups of cheese (give or take).


<span class=
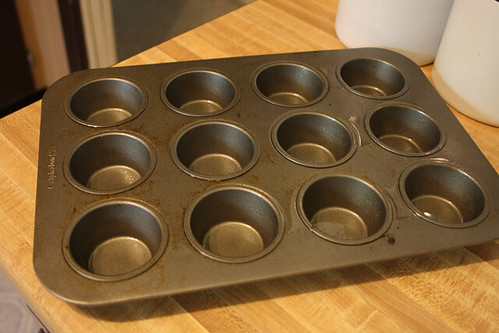
Once you have all of your ingredients ready, go ahead and grease a 12 cup muffin pan.


<span class=
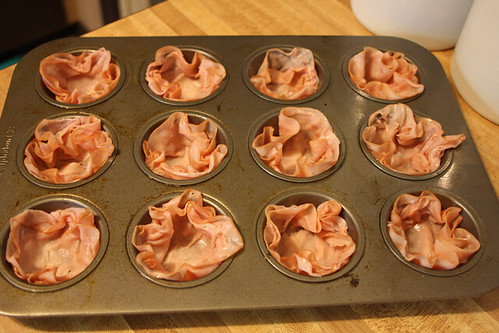
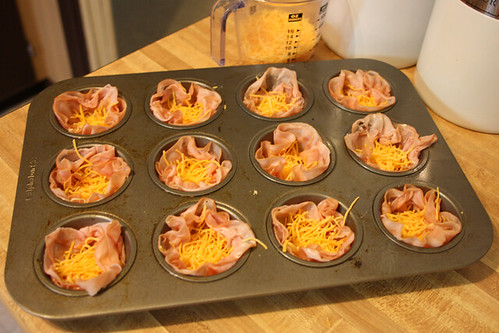
Now put one slice of ham in each muffin cup. All I had on hand was extra thin deli ham, so I used two slices. Which is really cramping Daniel's style when it comes to having meat on his sandwiches. But if you have normal deli sliced ham you will be good to go with just one!


<span class=
Put some cheese inside of each piece of ham.

And just for your info... the original recipe called for frozen spinach to go on top of the cheese. Seeing as how my husband will NOT eat spinach, I passed on this ingredient. But I think it would be a great way to get some veggies into the kids (or hubby's)!


<span class=
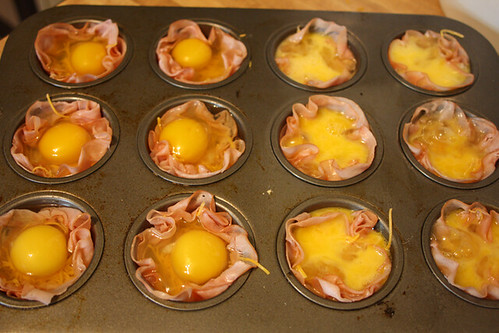
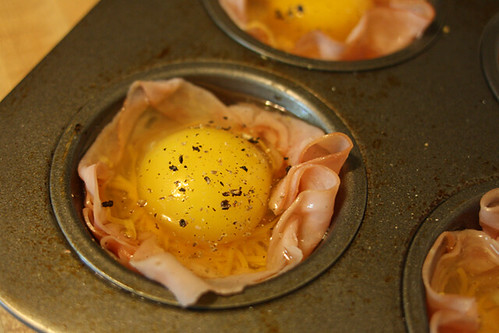
Now crack an egg on top of the cheese!

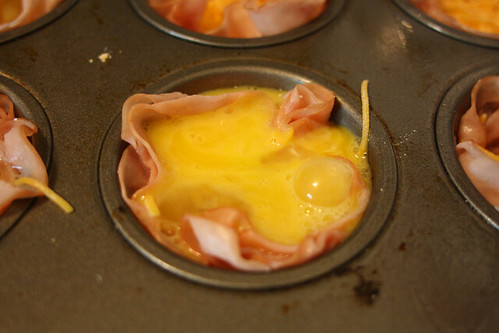
I did this two ways. The original recipe just said to crack the egg and then pop it into the oven. But Zachariah is not a fan of seeing a whole yolk. He gets a little weirded out then refused to eat the egg. Needless to say, he prefers scrambled eggs. So I beat an egg and then poured it into the ham and cheese cup. I did that six times... that way I could have half scrambled and then half the "normal" way.


<span class=
See, the scrambled works well too!


<span class=
Salt and pepper to taste and then pop these bad boys into an oven that has been preheated to 350 degrees and cook for about 20 minutes.


<span class=
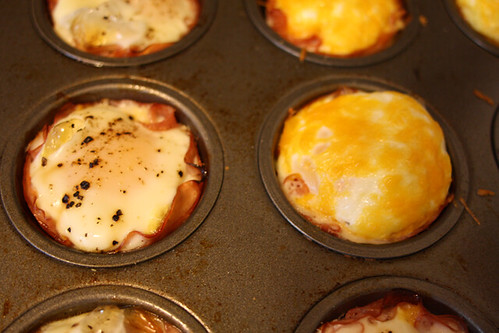
I could have probably gotten away with only cooking these for 15 minutes, so I think you will just have to keep an eye on them. Oven temperatures vary. Regardless, they were DELISH.


<span class=
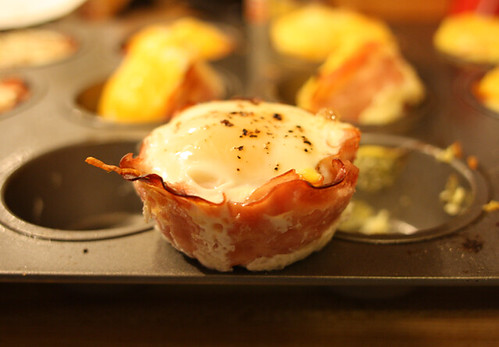
Here are the two different kinds. I enjoyed both of them, but I must say that I think the scrambled muffin cup wins by a tiny bit. It just turned out to be the most perfect comfort food. In fact, I ate one just a little bit ago for a mid afternoon snack! So, so good.


<span class=
Since the muffin pan is pretty well coated with cooking spray these suckers come out pretty easily. Just run a knife around the sides and you will have no problem at all!


Here is the recipe... enjoy!


Ham and Cheese Egg Cup

Ingredients:
12 eggs
12 slices deli ham
2 cups cheddar cheese
1 box frozen spinach (optional)
Directions:
Spray a twelve cup muffin pan with cooking spray and put a piece of ham in each cup. Sprinkle cheddar cheese in each piece of ham. Put (thawed) spinach on top of cheese and then crack an egg on top. Salt and pepper to taste. Bake in 350 degree oven for 20 minutes, or until done.