Showing posts with label dessert. Show all posts

Thursday, February 25, 2010

Pioneer Woman's Apple Dumplings

If you are a diabetic, turn away now. Just looking at this could give you some serious problems.

For the rest of you, this is one of my new favorite desserts! It is super easy and oh-so-delicious. I found this on the Pioneer Woman's site a while back and finally decided to try it. And boy am I glad I did.

I just need to say one thing before we get started: This dessert is going to be the death of my hips. The end.
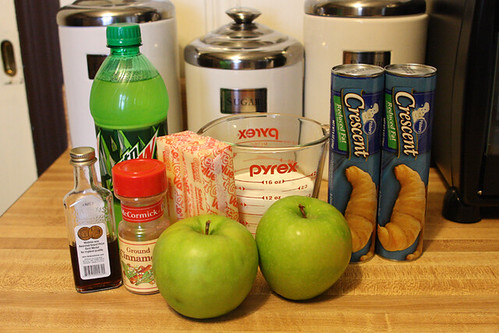


Here is what you will need. Crescent rolls, sugar, butter, granny smith apples, vanilla, cinnamon and mountain dew.
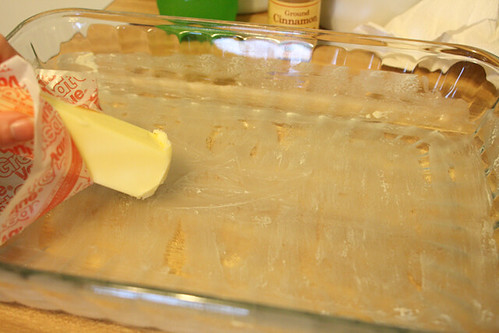


First, go ahead and butter a 9x13 baking dish.


Then you will want to peel and core two granny smith apples and slice them up into eight pieces each.


Roll out the crescent rolls and separate them into eight triangles
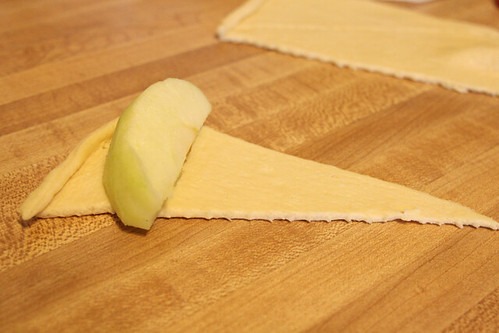


Then take an apple slice and roll it into the crescent roll.
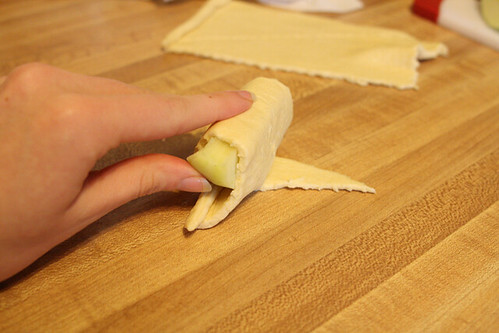


See? Simple. Do this until all of the crescent rolls have an apple slice.


Then line your buttered baking dish with the rolled up apples. Make sure to get them all nice and cozy or else they wont all fit.


Now melt two sticks of butter in a sauce pan over medium heat.
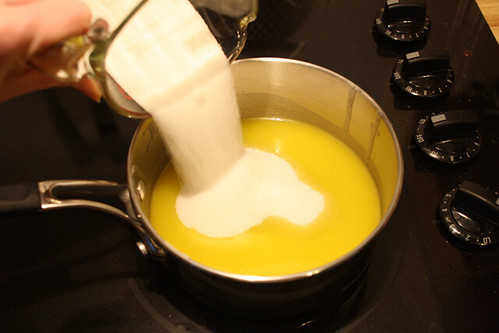


Once the butter is all melted, dump in 1-1/2 cups of sugar.
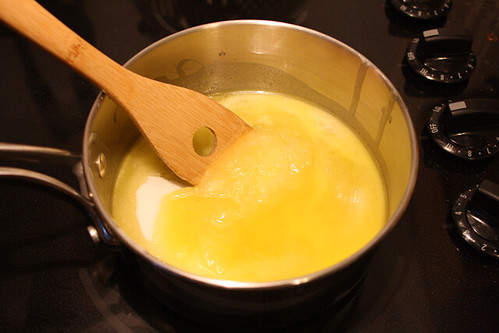


Now just barely stir them together. Barely stir. This is important.


Remove the pot from the heat and then add 1 teaspoon of vanilla. Gently stir together. You want this mixture to be lumpy. Remember that.


Poor the mixture over the top of the "dumplings". Make sure you coat them all in this sugary, buttery, oh so good for you mixture. You don't want to leave any out!


Now for the Mountain Dew. Oh man. Let me just take a moment to tell you a little story.

I had a serious addiction to Mountain Dew for about four years. I couldn't live without the stuff. If I had less than three a day I would get withdrawal headaches. It was the only way I made it through college and teaching three year olds. This was pretty much my alcohol. Sad, I know. But that is beside the point.

When I got pregnant with Zachariah I stopped consuming caffeine. Due to my "morning sickness" last for the whole 9 months, I couldn't consume much of anything. Regardless, I stopped drinking Mountain Dew... cold turkey. It was rough, but not as bad as I thought it would be. Once I got past the withdrawal symptoms I was golden. After I gave birth I started breastfeeding, and then by the time I was done with that I just kind of forgot about caffeine. I probably only have about a dozen caffeinated beverages a year. Its crazy when I think about it.

Anyway. Those are the facts. I have only had Mountain Dew a handful of times since being pregnant with Zachariah. So the fact that I was holding a bottle in my hands was monumental.

Just thought you should know.
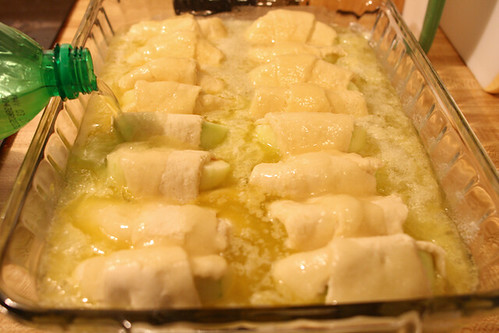


Ok, so the recipe calls for a 12 ounce can of Mountain Dew, but all I had was this massive bottle. So I only used about half of it. Pour the Mountain Dew around the sides of the pan and let it flow all around the dumplings.

And yes. Yes I did drink the rest of the Mountain Dew. And I loved every second of it.


Now sprinkle the tops with cinnamon and bake at 350 degrees for 30-45 min. Watch them to make sure they dont get too brown. You want a nice golden crispy top.
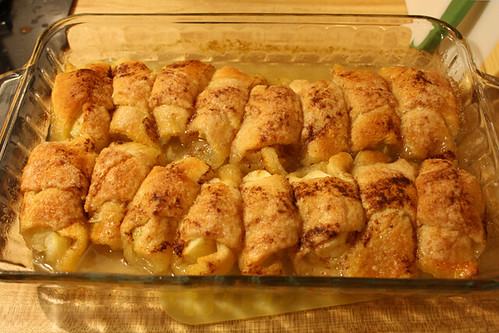


And here is the finished product! When I took them out of the oven I had a TON of liquid sloshing around. So I just drained a little bit of the excess liquid into a bowl before I served the cute little dumplings.

And that's it! Serve them warm with some vanilla ice cream. It will definitely be worth it. Trust me.

Thanks again, Pioneer Woman. You rock my socks.


Ingredients:
2 whole Granny Smith Apples
2 cans crescent rolls (8 0z cans)
2 sticks butter
1-1/2 cup sugar
1 teaspoon vanilla
Cinnamon, to taste
1 can (12 oz) Mountain Dew

Directions:
Peel and core apples. Cut each apple into 8 slices each. Roll each apple slice in a crescent roll. Place in a 9 x 13 buttered pan.

Melt butter, then add sugar and barely stir. Add vanilla, stir, and pour entire mixture over apples. Pour Mountain Dew around the edges of the pan. Sprinkle with cinnamon and bake at 350 degrees for 40 minutes. Serve with ice cream and enjoy!

Wednesday, February 17, 2010

Grilled Orange Chicken

When it comes to cooking, I am all for a simple recipe. I think you all know that by now. Most every recipe I have shared on here has been easy peasy. That's how I roll.

This recipe is no exception. In fact, it is probably be the simplest one I have ever posted. All you do is throw some simple ingredients in a bag and let it marinate for a couple hours. Talk about a walk in the park! This is a very simple, but yummy way to give your chicken a little "umph"! And let me just say, my chicken meals have been a bit on the boring side lately. So it desperately needed some "umph".


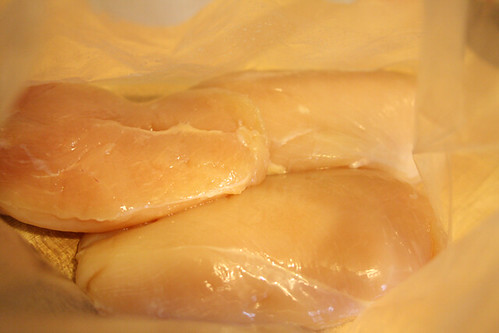
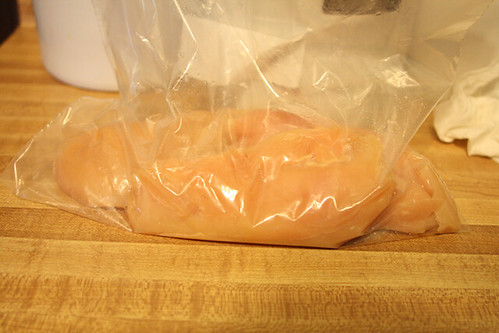
Ok. Lets start by putting some chicken breasts into a zip lock bag.


I only used three for this meal, but next time I will use more. Daniel could have eaten another one, and leftovers are always welcome in my fridge!

Once you have your chicken in a zip lock bag, gather up the following ingredients...


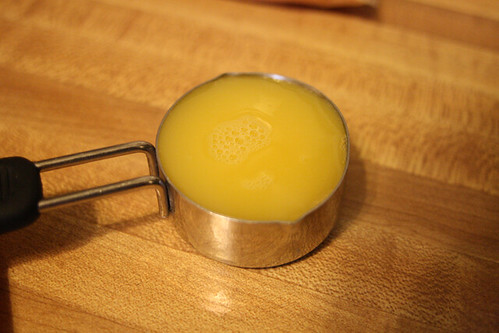
1/4 cup of orange juice


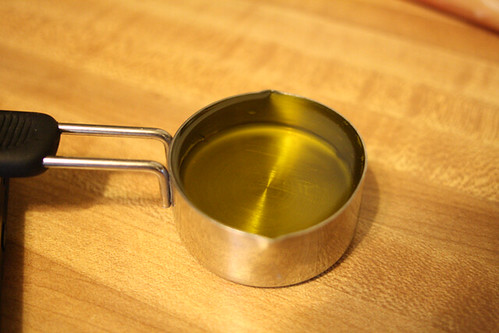
1/4 cup of some extra virgin olive oil


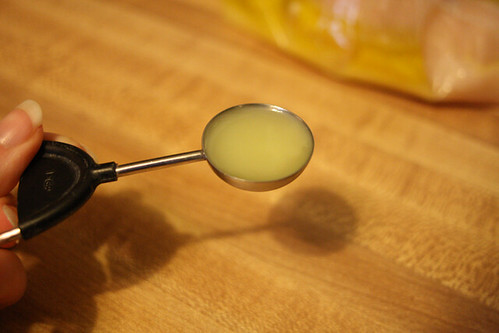
3 teaspoons of lemon juice


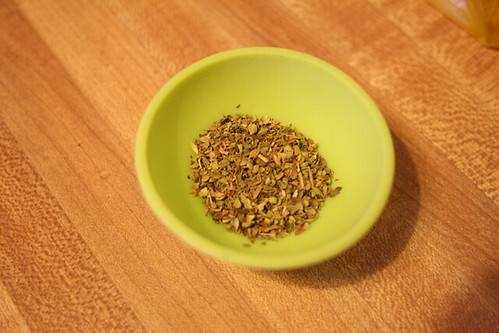
1 teaspoon dried oregano


1 teaspoon dried thyme

(if you are not a big fan of thyme just use half a teaspoon. A whole teaspoon was too much for me. I will definitely tone it down next time.)


1 teaspoon of salt,

1 teaspoon of black pepper.

and 3 garlic cloves, minced.

(Pretend that I have a picture of both of those)


Throw all of the ingredients into the zip lock bag with the chicken. Zip the bag up (please don't forget this step) and massage the chicken for about a minute.


Then put the bag-o-chicken in the fridge for at least an hour. Personally, I would recommend letting it marinate for closer to two hours, but if you are in a pinch an hour would do.


Right before you take the chicken out of the oven, take out your George Foreman grill that your fabulous parents gave you for Christmas. (Thanks mom and dad!) If you don't have an indoor grill, or if you prefer to use a regular grill, you still cook it for the same amount of time. Nothing really changes.


And if you want, you can put a light coat of olive oil on the grill right before you heat it up. It does wonders for the sticking.


When the grill is ready, plop the chicken on and cook it for about 4-8 minutes. Or until the juices run clear. I cooked the chicken for the full eight minutes and that turned out to be perfect. (On a regular grill you will want to make sure to flip the chicken about halfway through.)


Now plop the chicken on a plate and serve. It would be great with some mashed potatoes and broccoli casserole. Whatever you serve it with, make sure you savor the citrus-y goodness!


Ingredients:

3 chopped orange segments
1/4 cup orange juice (no pulp)
1/4 cup extra virgin olive oil
3 tsp lime juice
3 garlic cloves, minced
1 tsp dried thyme
1 tsp dried oregano
1 tsp salt
1 tsp black pepper
1 lb boneless skinless chicken breasts


Directions:

Place all ingredients into a Zip-Lock bag. Massage the bag for a minute or so. Put bag in the refrigerator for about an hour.

When desired time has passed, take out the bag and remove the chicken breasts. Grill chicken for around 4 to 8 minutes, or until juices run clear.

Wednesday, February 10, 2010

Molten Chocolate Cake

I know its a bit early in the day to be thinking about chocolate... but oh dear heavens. This is by far one of the best things in the whole wide world. I got this recipe off the Tasty Kitchen website, and it is amazing. You have GOT to make this. Immediately.


Gather up your ingredients. You will need some baking chocolate, butter, eggs, egg yolk, powdered sugar and flour.


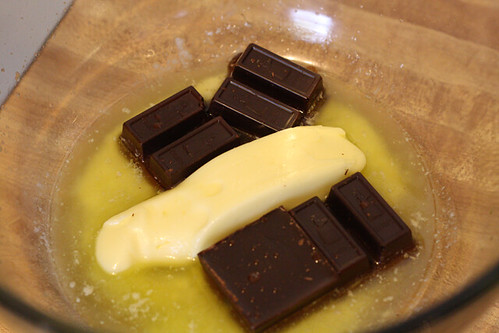
Toss a sick of butter and four squares of baking chocolate into a big mixing bowl. Microwave it for about a minute. (You can find a box of baking chocolates on the baking isle of just about any grocery store.)


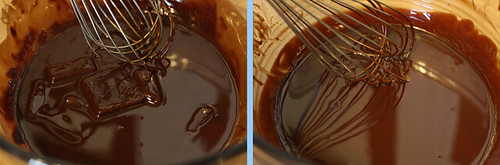
The butter will be mostly melted, but the chocolate will not. Slowly whisk it together. The chocolate will start melting. If your butter is not super de duper soft, put the bowl back in the microwave for another 25 seconds. That should be enough to get it whisk-able.


After a short time of whisking the butter blends in nicely with the chocolate. The picture on the left shows chunks of chocolate still left. You do NOT want that. Keep whisking until you get the perfect, smooth goodness that is picture to the right.


When the chocolate is done being whisked, add 1 cup of powdered sugar to the chocolate. Stir until its well blended.


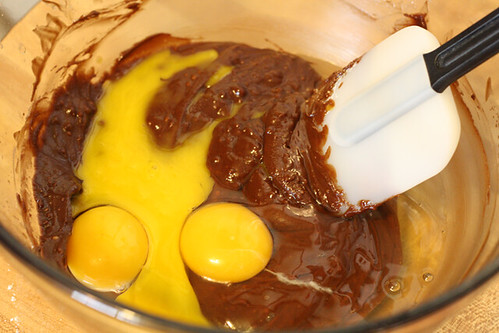
Now take two whole eggs and two egg yolks and dump them into the bowl. Whisk (or stir. whatever floats your boat) together until combined.


Now all that is left is to throw in 6 tablespoons of flour and stir that together nicely.


Grab four custard cups and spray them with cooking spray. Don't be a wimp about it. Coat them really good!


And now distribute the mixture evenly among the cute little custard bowls.


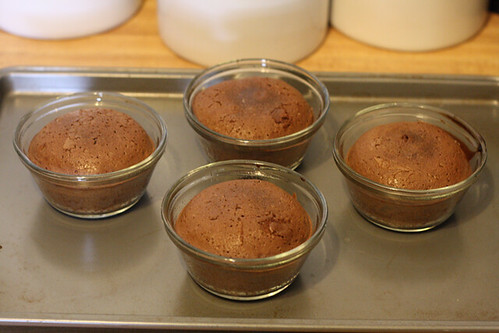
Place all four custard cups onto a baking tray and pop them into an oven (that has been preheated to 425 degrees) and bake them for 13-14 minutes.


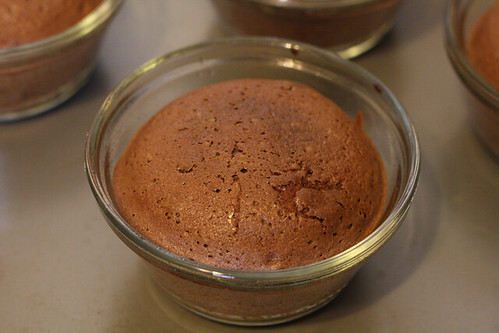
After 13-ish minutes, you pull out these beauties! You want the edges to be firm, but the middle to be soft.


I love individual cakes. They are just so cute!


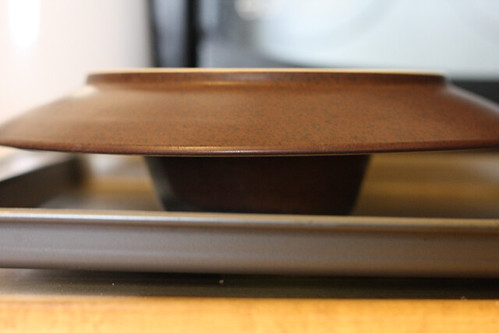
Ok, now you are going to want to invert this onto a plate. Because I don't have three hands, I just put the plate on top of the custard cup to show you. You are going to want to hold the custard cup in a dish towel (they are piping hot!) and put the plate over it.


Then flip it over! The cake will just slide right out of the custard cup. Yay for cooking spray!


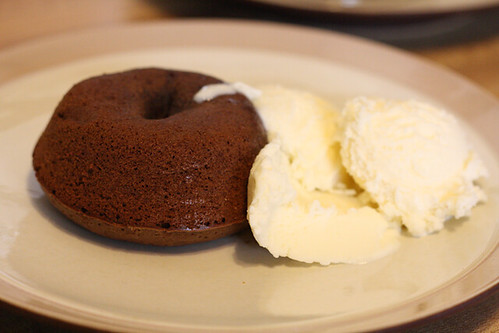
And this is the final result. How adorable is this dessert? I mean, seriously. Add some vanilla ice cream or whipped cream and you can pretty much call this heaven on earth.


Oh man. Look at all of that chocolaty goodness. So amazing. So delicious. So darn good. Make this now. You will thank me (and the tasty kitchen member who came up with this) later.


Molten Chocolate Cake

Ingredients:
4 pieces (squares) Semi-sweet Baking Chocolate
½ cups Butter
1 cup Powdered Sugar
2 whole Eggs
2 whole Egg Yolks
6 Tablespoons Flour


Directions:
Preheat oven to 425 degrees.
Spray 4 custard cups with Pam and place on cookie sheet.
Microwave chocolate and butter in large bowl on high for about 1 minute, until butter is melted. whisk until chocolate is also melted.
Stir in sugar until well blended. Whisk in eggs and egg yolks. Stir in flour.
Divide between cups.
Bake 13-14 minutes until sides are firm and center is soft. Let stand 1 minute.
Invert cakes on dishes and top with whipped cream.

Wednesday, January 27, 2010

Blackberry Cobbler

Mmmm. Desserts. I love desserts. And I love cobbler. Peach cobbler is my favorite, but my hubby happens to favor blackberry cobbler. So since I love desserts, cobbler and my husband, I decided to go ahead and make some blackberry cobbler. Courtesy of The Pioneer Woman.

I have never made a cobbler before, so I was a bit nervous. But this recipe was super easy, so I decided to give it a go. And I documented it, step by step, for you all to see.

Your welcome. :)


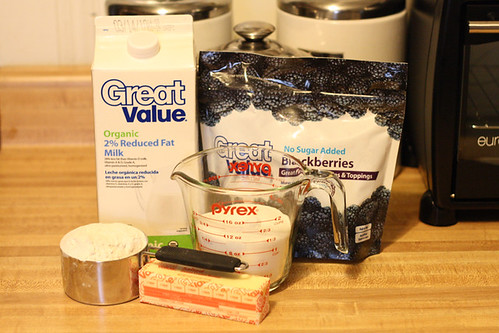
The ingredients consist of milk, sugar, self rising flour, butter and blackberries (fresh or frozen).


First, place half a cup (1 stick) of butter in a microwave safe dish. Nuke it for 30-45 seconds, or until melted.


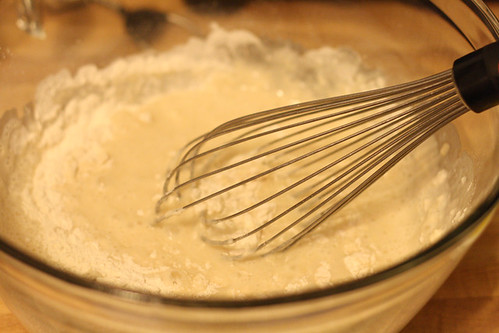
Whisk together 1 cup of sugar, 1 cup of self rising flour and 1 cup of milk. Mix well.


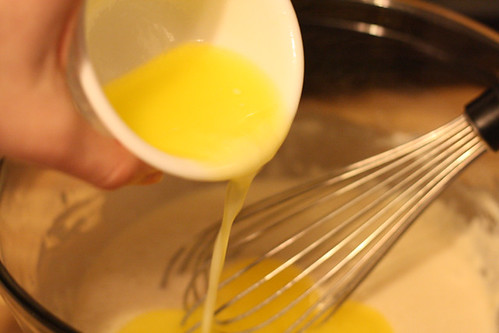
Then take your melted butter, poor it into the bowl and whisk together.


Now, butter a 3 quart baking dish.

My 3 quart baking dish was being used to hold leftover baked lemon pasta (another PW recipe), so I had to settle for my 2.5 quart dish. It worked fine, but my cobbler would have turned out a little better if I had used a 3 quart. Just so ya know. :)


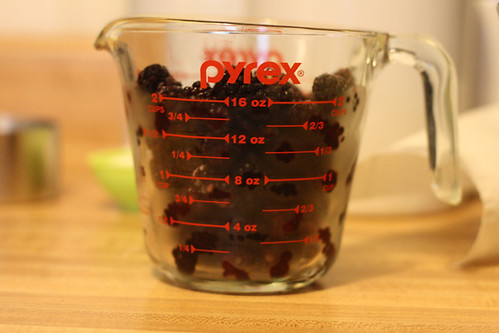
Now rinse and pat dry two cups of blackberries. Fresh would be fabulous, but all I had was frozen. So that's what I used. And they tasted fabulous. Just so ya know.


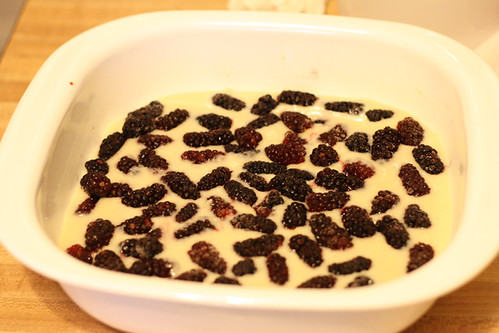
Poor the batter into your baking dish and drop the blackberries evenly over the top of the batter.


Once you have evenly distributed the berries, sprinkle 1/4 cup of sugar over the berries.

If you are trying to take pictures during this process, the sugar may not sprinkle evenly. So, if you can help it, try not to take pictures while baking. It causes sugar to pile up unnecessarily. Ahem.


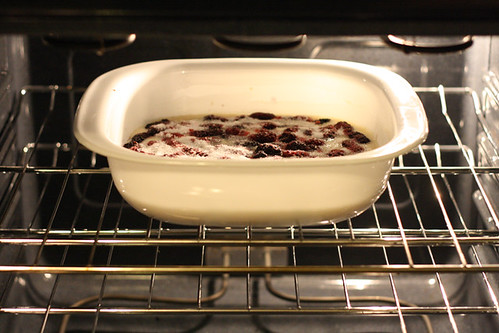
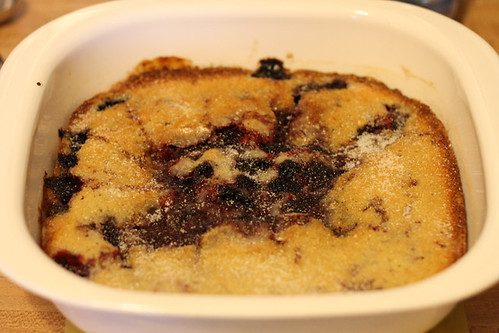
Now, pop this baby into the oven (preheated to 350 degrees) and bake for 1 hour. Or until golden brown. I kind of didn't hear my timer go off, so mine was a little closer to brown instead of golden. Luckily it didn't burn, but it should definitely be pulled out before this point. Just so ya know.

Oh, and if you want, sprinkle two tablespoons of sugar on the cobber about 10 min. till its done. A little extra sugar never hurt anyone, right?


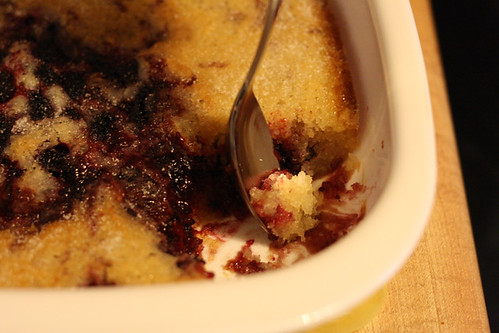
Wala! You now have a tasty blackberry cobbler ready to serve to your hungry friends or family. Or just keep it for yourself. I will not judge.

(Note: If I would have used the 3 quart dish the crust would have risen more evenly. Again, did not affect the taste, just the presentation. Which I was not to concerned about.)


And beware. Your husband may not wait for you to dish it onto a plate. It is very likely that he will just grab a spoon and dig in. Yes, it is that good.

Next time I am going to substitute peaches for blackberries! I cant wait!

Hope you enjoy!


Pioneer Woman's Blackberry Cobbler

Ingredients:

1/4 pound (1 stick) butter, melted
1 1/4 cups plus 2 tablespoons sugar
1 cup self-rising flour
1 cup milk
2 cups fresh (or frozen) blackberries (or blueberries, peaches, raspberries)


Preparation Instructions:

Melt butter in a microwavable dish. Pour 1 cup of sugar and flour into a mixing bowl, whisking in milk. Mix well. Then, pour in melted butter and whisk it all well together. Butter a baking dish.

Rinse and pat dry the blackberries. Pour the batter into the buttered baking dish. Sprinkle blackberries over the top of the batter; distributing evenly. Sprinkle ¼ cup sugar over the top.

Bake in the oven at 350 degrees for 1 hour, or until golden and bubbly. If you desire, sprinkle an additional teaspoon of sugar over the cobbler 10 minutes before it’s done.