Over here in the Titus household we LOVE breakfast foods, and when I found this recipe for a ham and cheese egg cup I knew I had to make brinner. Immediately.
So that is what I did. Last night we had breakfast, and it was wonderful. And because I am a nice person, I will share this treasure that I found (thanks again to Tasty Kitchen!).


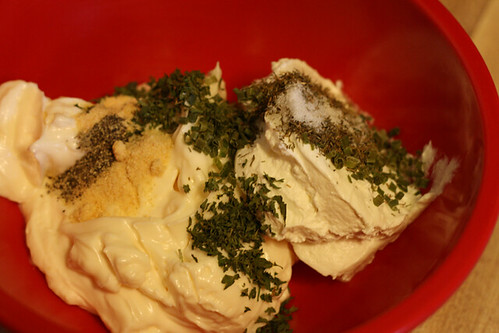
Here is what you will need.
One dozen eggs,
Once you have all of your ingredients ready, go ahead and grease a 12 cup muffin pan.
Now put one slice of ham in each muffin cup. All I had on hand was extra thin deli ham, so I used two slices. Which is really cramping Daniel's style when it comes to having meat on his sandwiches. But if you have normal deli sliced ham you will be good to go with just one!
Put some cheese inside of each piece of ham.
And just for your info... the original recipe called for frozen spinach to go on top of the cheese. Seeing as how my husband will NOT eat spinach, I passed on this ingredient. But I think it would be a great way to get some veggies into the kids (or hubby's)!
I did this two ways. The original recipe just said to crack the egg and then pop it into the oven. But Zachariah is not a fan of seeing a whole yolk. He gets a little weirded out then refused to eat the egg. Needless to say, he prefers scrambled eggs. So I beat an egg and then poured it into the ham and cheese cup. I did that six times... that way I could have half scrambled and then half the "normal" way.
Salt and pepper to taste and then pop these bad boys into an oven that has been preheated to 350 degrees and cook for about 20 minutes.
I could have probably gotten away with only cooking these for 15 minutes, so I think you will just have to keep an eye on them. Oven temperatures vary. Regardless, they were DELISH.
Here are the two different kinds. I enjoyed both of them, but I must say that I think the scrambled muffin cup wins by a tiny bit. It just turned out to be the most perfect comfort food. In fact, I ate one just a little bit ago for a mid afternoon snack! So, so good.

Since the muffin pan is pretty well coated with cooking spray these suckers come out pretty easily. Just run a knife around the sides and you will have no problem at all!
Here is the recipe... enjoy!
Ham and Cheese Egg Cup
Ingredients:
12 eggs
12 slices deli ham
2 cups cheddar cheese
1 box frozen spinach (optional)
Directions:
Spray a twelve cup muffin pan with cooking spray and put a piece of ham in each cup. Sprinkle cheddar cheese in each piece of ham. Put (thawed) spinach on top of cheese and then crack an egg on top. Salt and pepper to taste. Bake in 350 degree oven for 20 minutes, or until done.